
Everything you need to hand out a 3X4 kit with confidence.
The Provider's Guide to 3X4 DNA Sample Kits and kit registration: what's in the kit tube, why the kit code has to be registered, and the exact steps for registering as a practitioner or assisting your client to register themselves.
Updated August 13th, 2026
One box, one cheek swab, one report.
Each 3X4 Sample Kit includes everything one person needs to complete a simple, painless cheek swab. The collection vial stabilizes the cell sample in a non-toxic buffer while it ships to our laboratory. After the DNA is extracted, it undergoes genotyping to produce an individualized 3X4 genetic report.

Storage & stability
Every 3X4 Kit has an expiration date at least 12 months from when you receive it. Do not use a kit if the swab or vial has passed its expiry date.
Ambient temperature only
Store kits and collected DNA samples at ambient temperatures between 59–86 °F (15–30 °C).
Warnings & precautions
See the safety data sheet at 3X4genetics.com/sds for full handling information.
A kit code is anonymous until someone registers it.
Registering the unique kit code via 3X4's secure platforms is a required step for every 3X4 test. Until the kit code is registered, it is not linked to any person's identity.
Unregistered samples may be discarded
Samples that reach the lab without a registered kit code cannot be identified and may be discarded.
Find the kit code
Each kit includes a unique Kit Code printed on the label of the DNA sample collection vial. That code tracks the sample and genetic results through storage, transit and lab processing, which is what keeps the sample unidentifiable to unauthorized personnel.

Approx. 2 inches
The kit code → report identity chain
The client deposits their sample into the vial, labelled with a unique kit code.
The kit code is linked to the client's profile (name, email, etc.) when the kit is registered.
The kit code is used to identify the sample and genetic results at the lab.
3X4 links the lab's genetic results back to the client's profile, so an identifiable report can be generated.
Who registers the kit, you or your client?
Either the client registers their own kit by following the instructions in their kit, or you register it for them from your 3X4 practitioner portal. Only one of the two is needed.
Client registration
Using the instructions provided inside the 3X4 Kit, clients register their own kit code, link their results to your practitioner profile, and unlock the sample collection instructions.

Practitioner registration
Practitioners can register a client's kit directly from their 3X4 practitioner portal account, linking the client, the kit code and the practitioner in one flow.
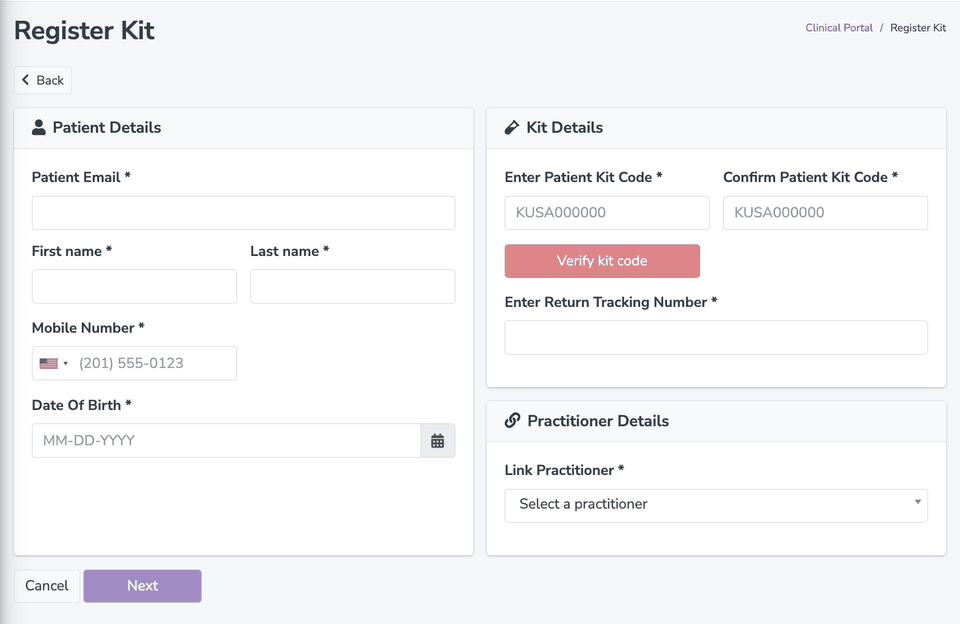
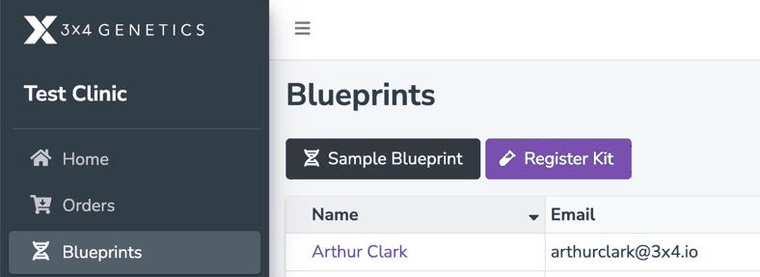
Practitioner kit registration in two screens.
Enter the client and kit details
- 1Log in to your 3X4 practitioner portal. On the Blueprints tab, choose Register Kit.
- 2On the next screen, enter the client's details: email, first and last name, mobile number and date of birth.
- 3Enter the kit code twice, then select Verify kit code.
- 4Capture the return tracking number printed on the shipping bag label, if one was supplied. Optional
- 5Link the practitioner, then select Next.
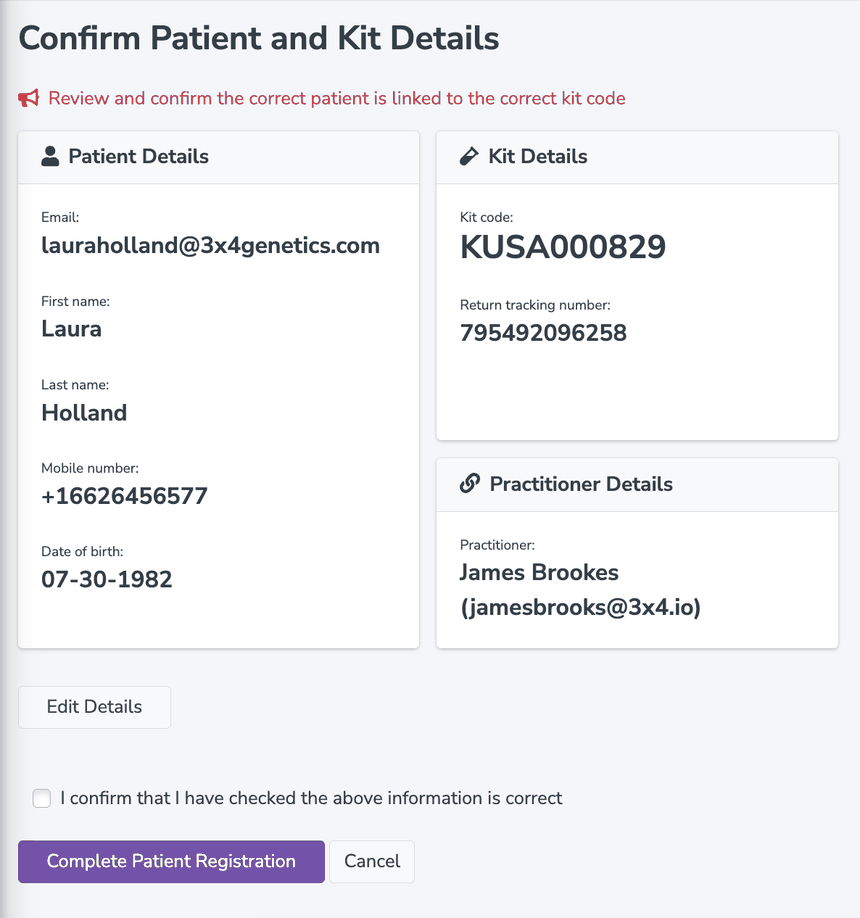
Confirm before you submit
- 1Review every detail you entered.
- 2Make sure the correct kit code is linked to the correct person. This is the step that binds the sample to the report.
- 3To change anything, select Edit Details.
- 4Tick the confirmation checkbox, then select Complete Patient Registration.
Client kit registration, step by step.
If your client was shipped a kit from August 13th, 2026, their kit insert will instruct them to scan the QR code on the bottom of the kit, or visit 3X4genetics.com/register-kit.
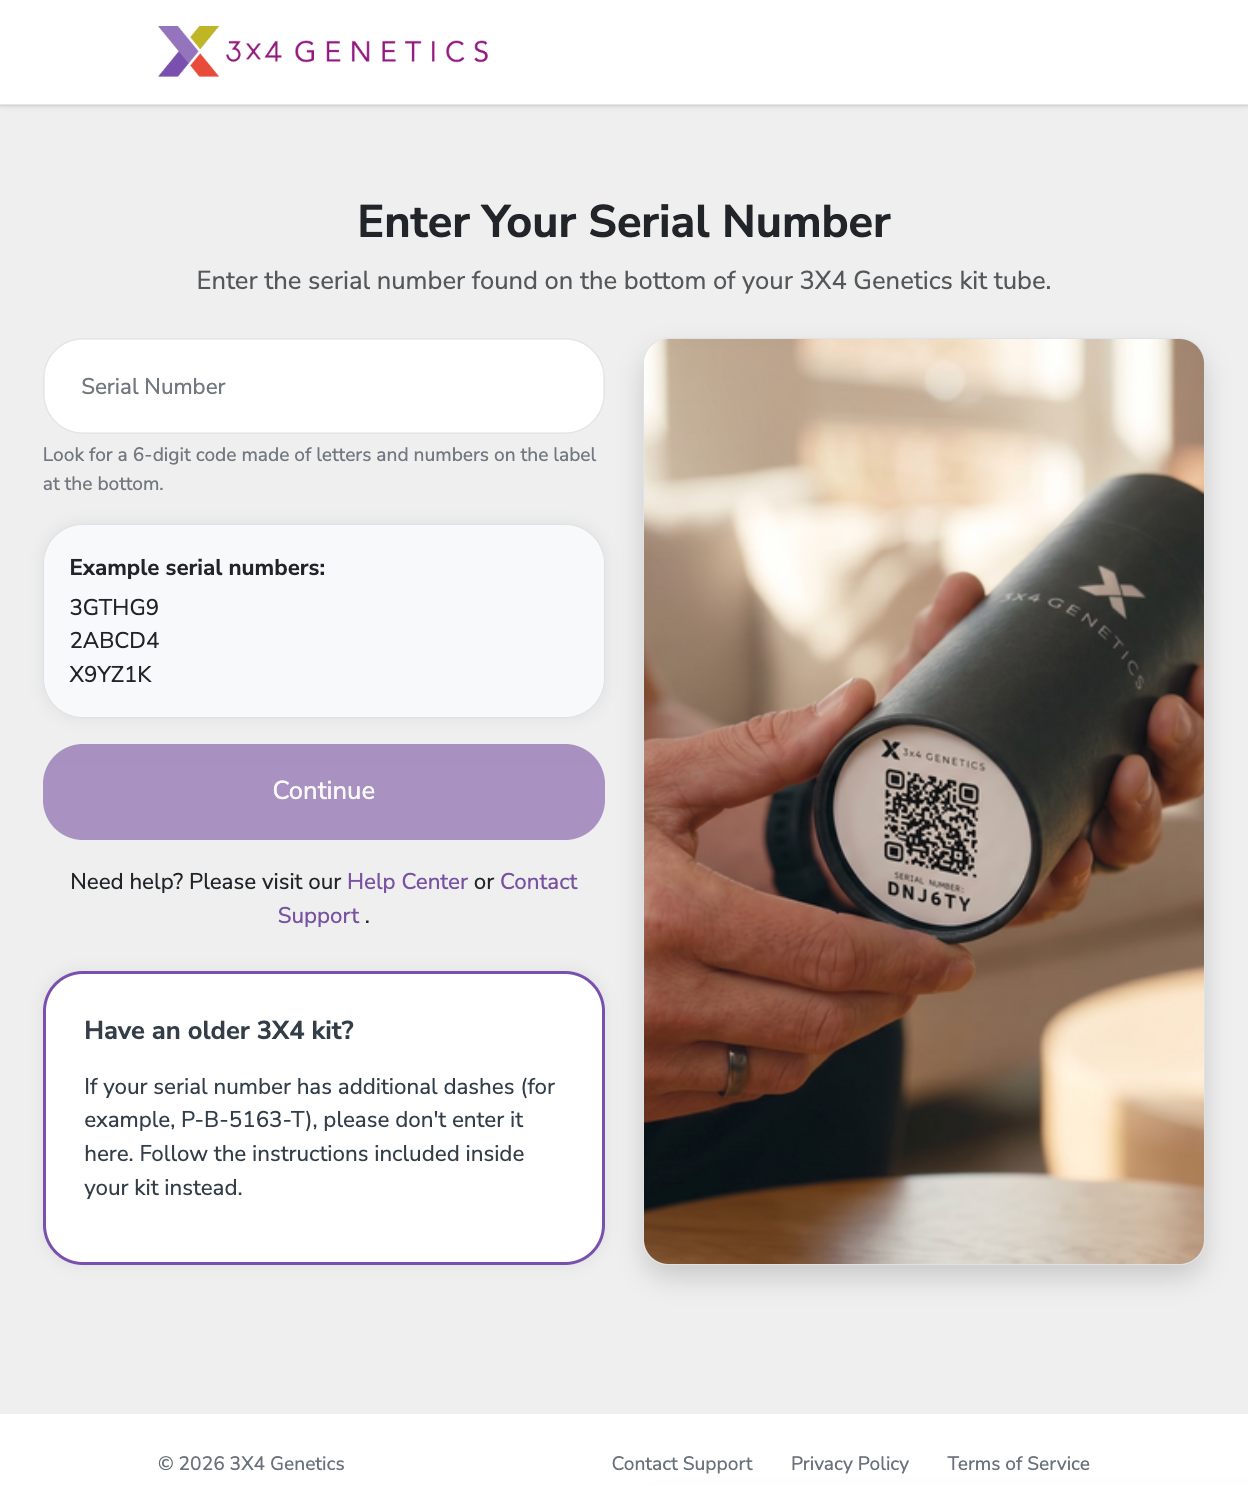
Enter Serial Number
The client enters the serial number printed on the outside of the 3X4 kit tube, or scans the QR Code. On-screen guidance shows exactly where to find it, with example formats.
- New accounts must verify their email address.
- A person can only register their own kit.
- Only one kit can be registered per profile; a second kit needs a new profile.
Kits shipped prior to August 13th, 2026 have different instructions
See the instructions for older 3X4 kits:
Instructions for older 3X4 kits
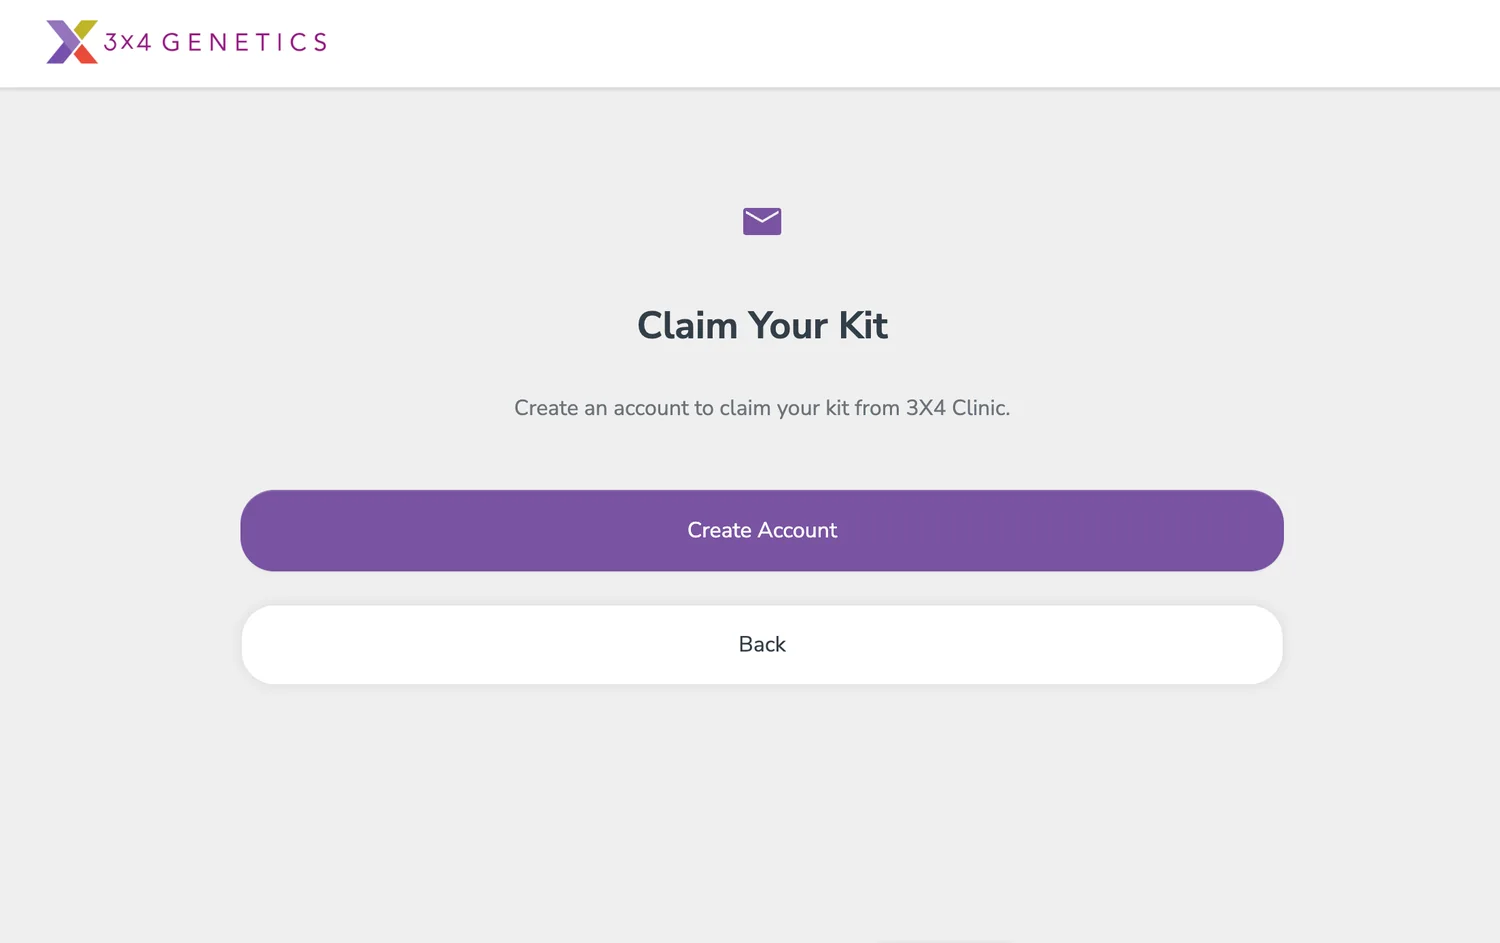
Claim Kit
Clients who received their kit from your practice will see a claim kit screen prompting them to create an account with their own email address.
A kit can only be registered to one email address and account
The client must provide the email address the kit will be registered to. Their results account will be tied to this address.
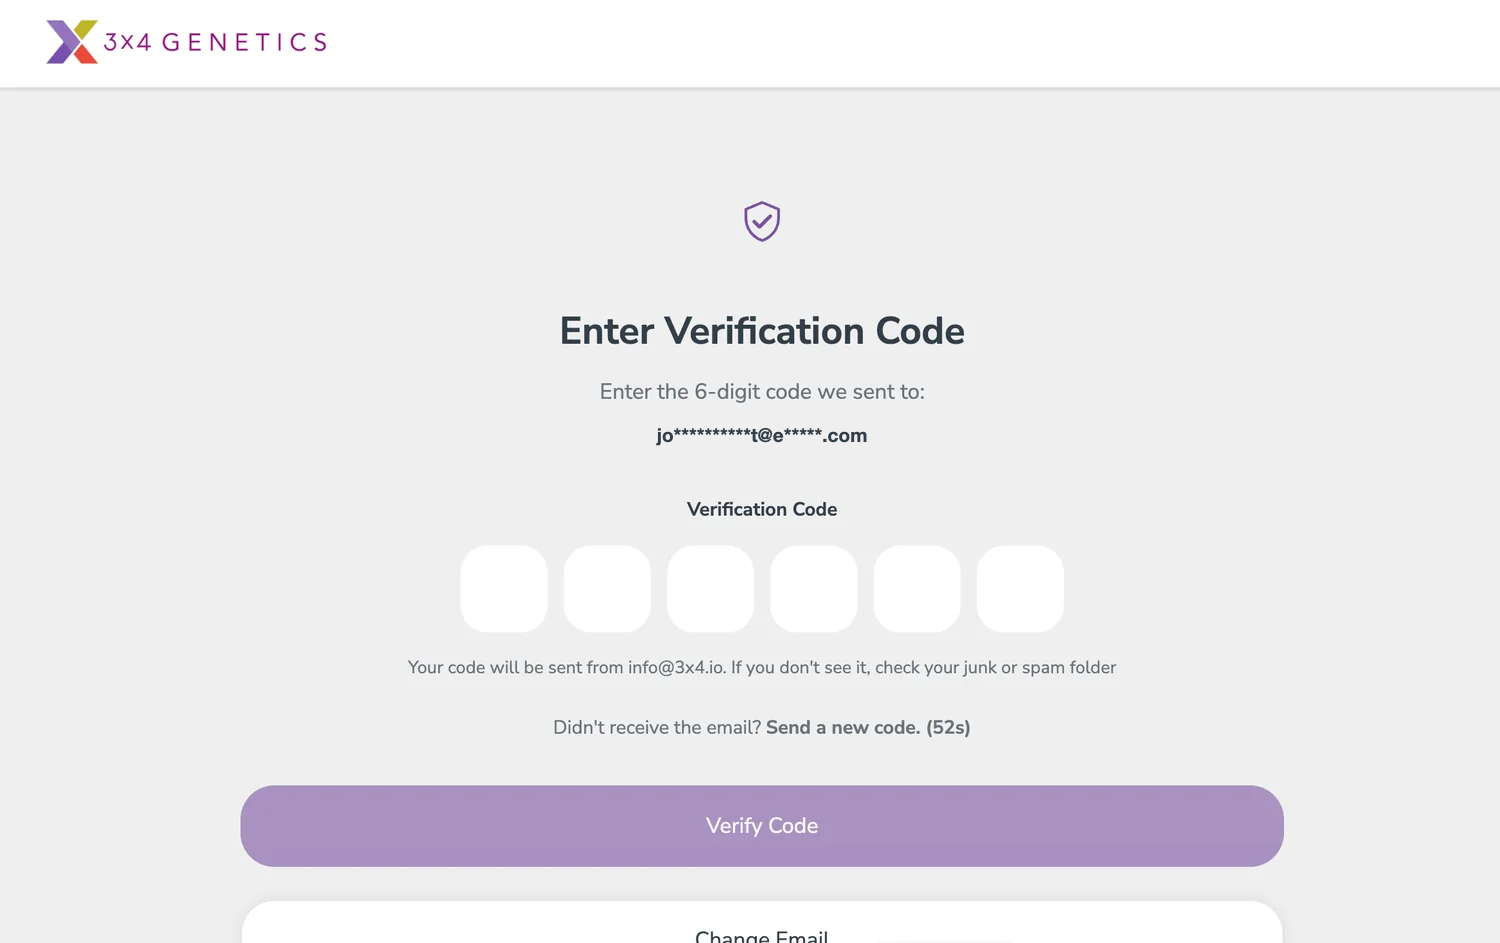
Enter Verification Code
A 6-digit code is sent to the client's email. Entering it proves they control the address before registration continues.
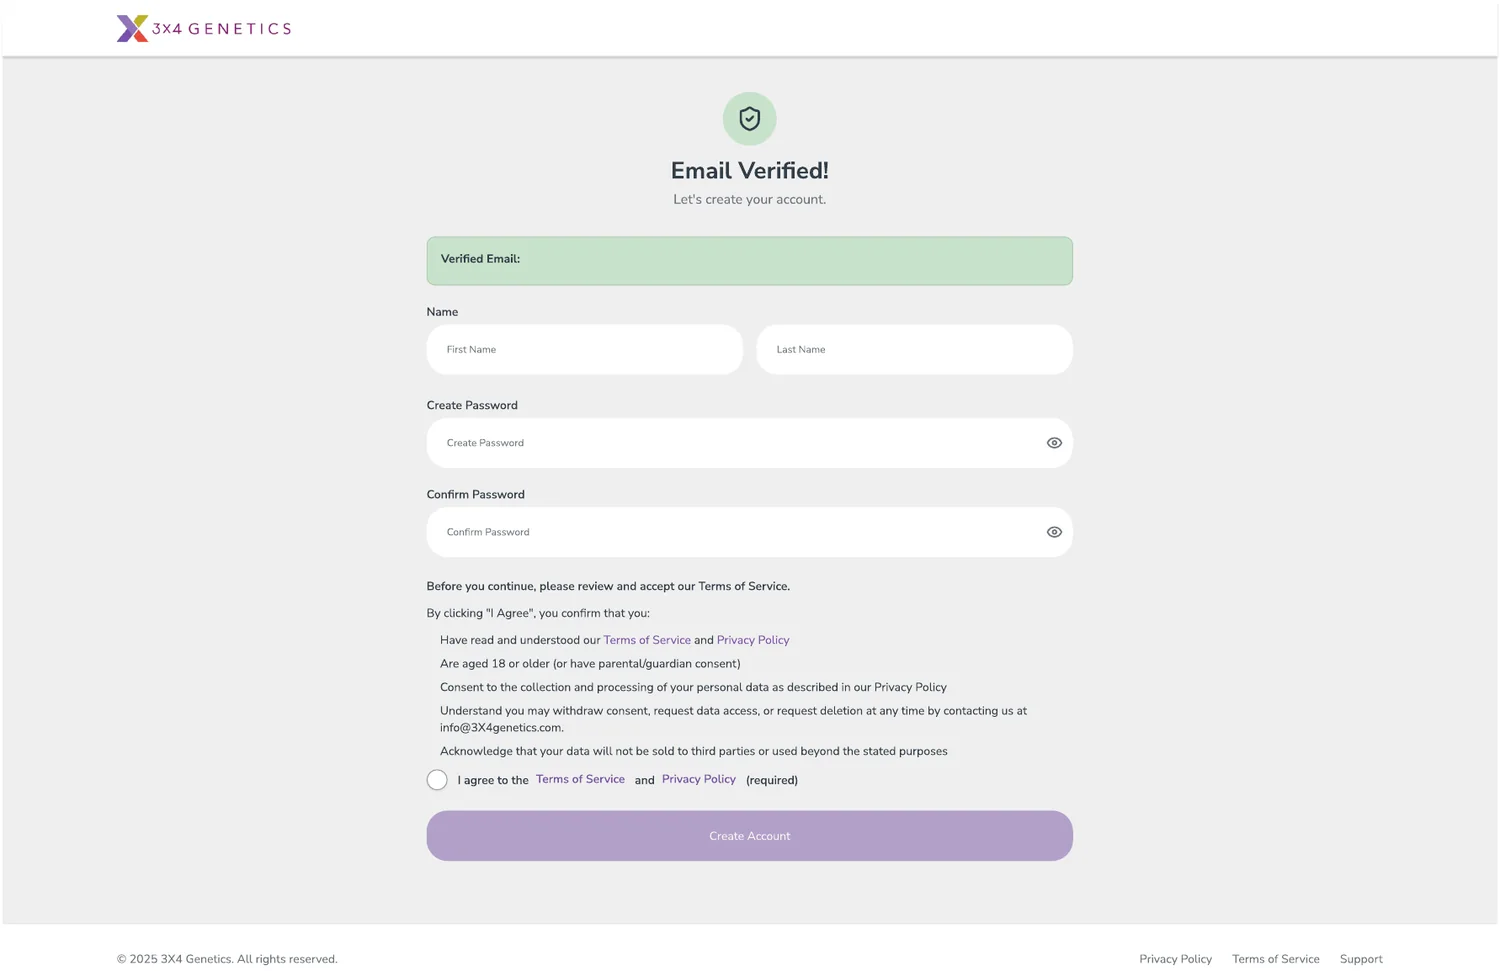
Create Account
With the email verified, the client creates their account. They review and accept the Terms of Service and Privacy Policy, set a password, and confirm consent before continuing.
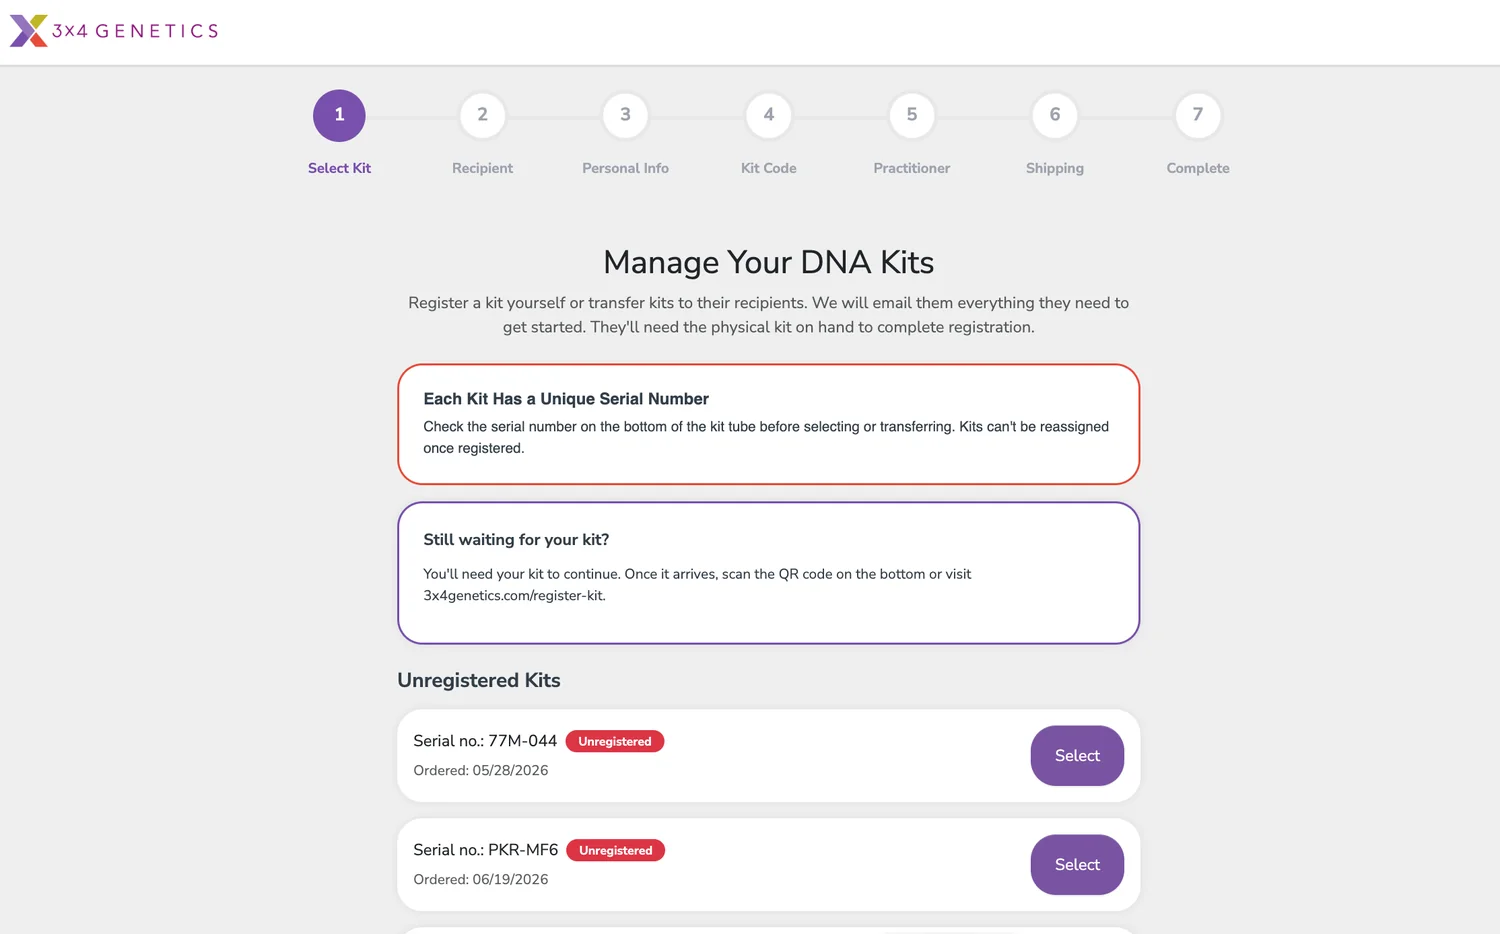
Select DNA Kit
Shown only when the client has multiple kits.
The client selects the physical kit in their possession from their unregistered kits, matching it to the serial number on the tube. A confirmation prompt double-checks the selection.
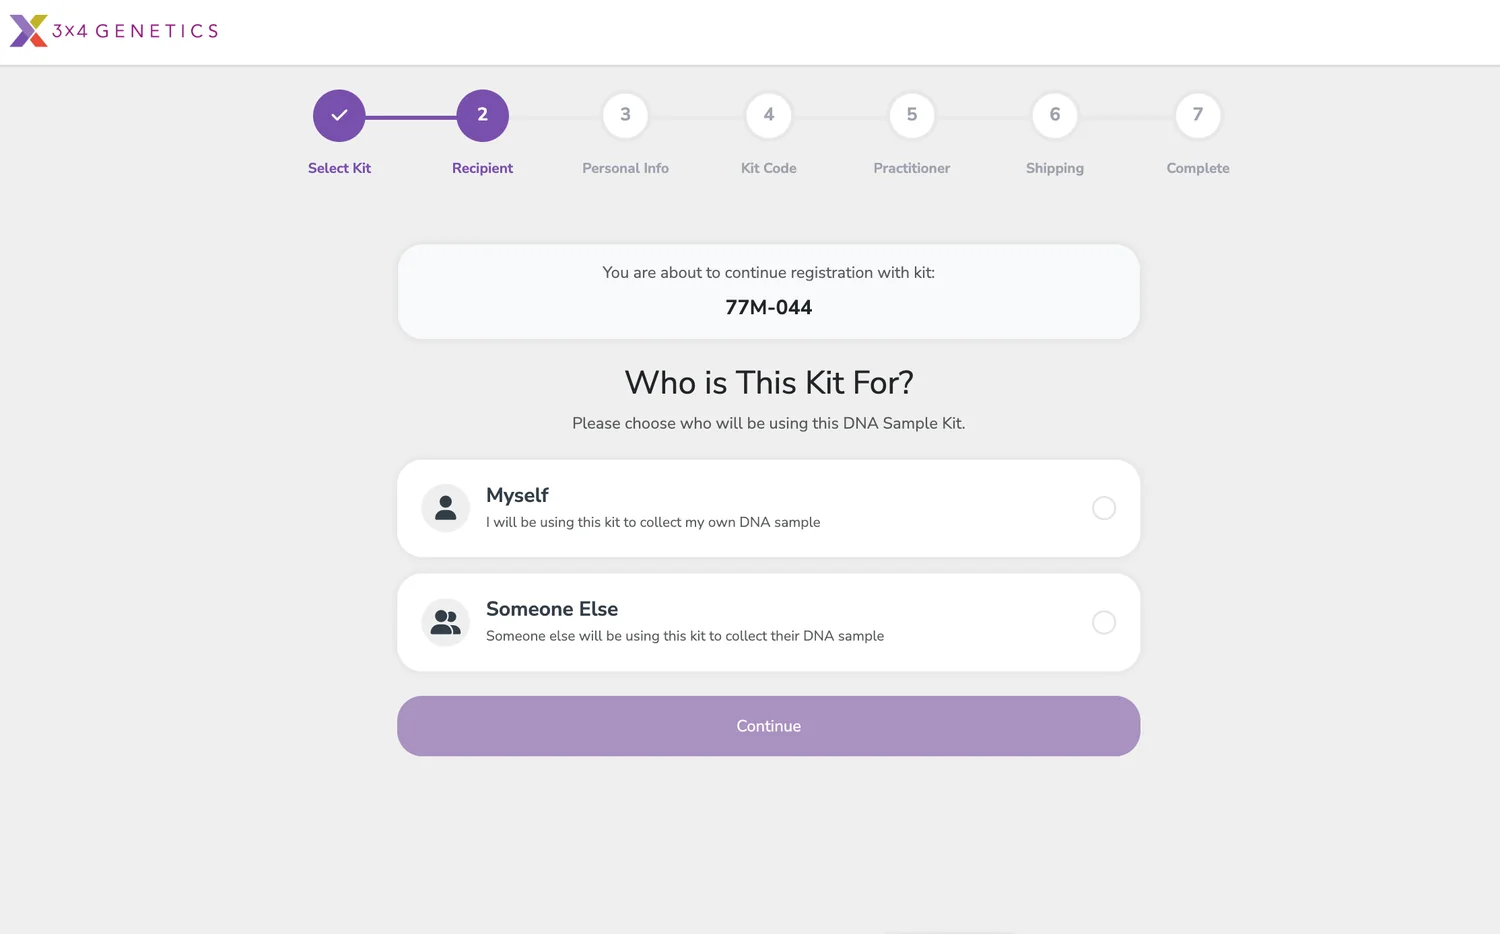
Choose Recipient
The client chooses who will use the kit: Myself, or Someone Else.
The account holder can only register their own kit
If the sample will be collected by anyone other than the account holder, they must choose Someone Else. The client can only register their own kit through their own account.
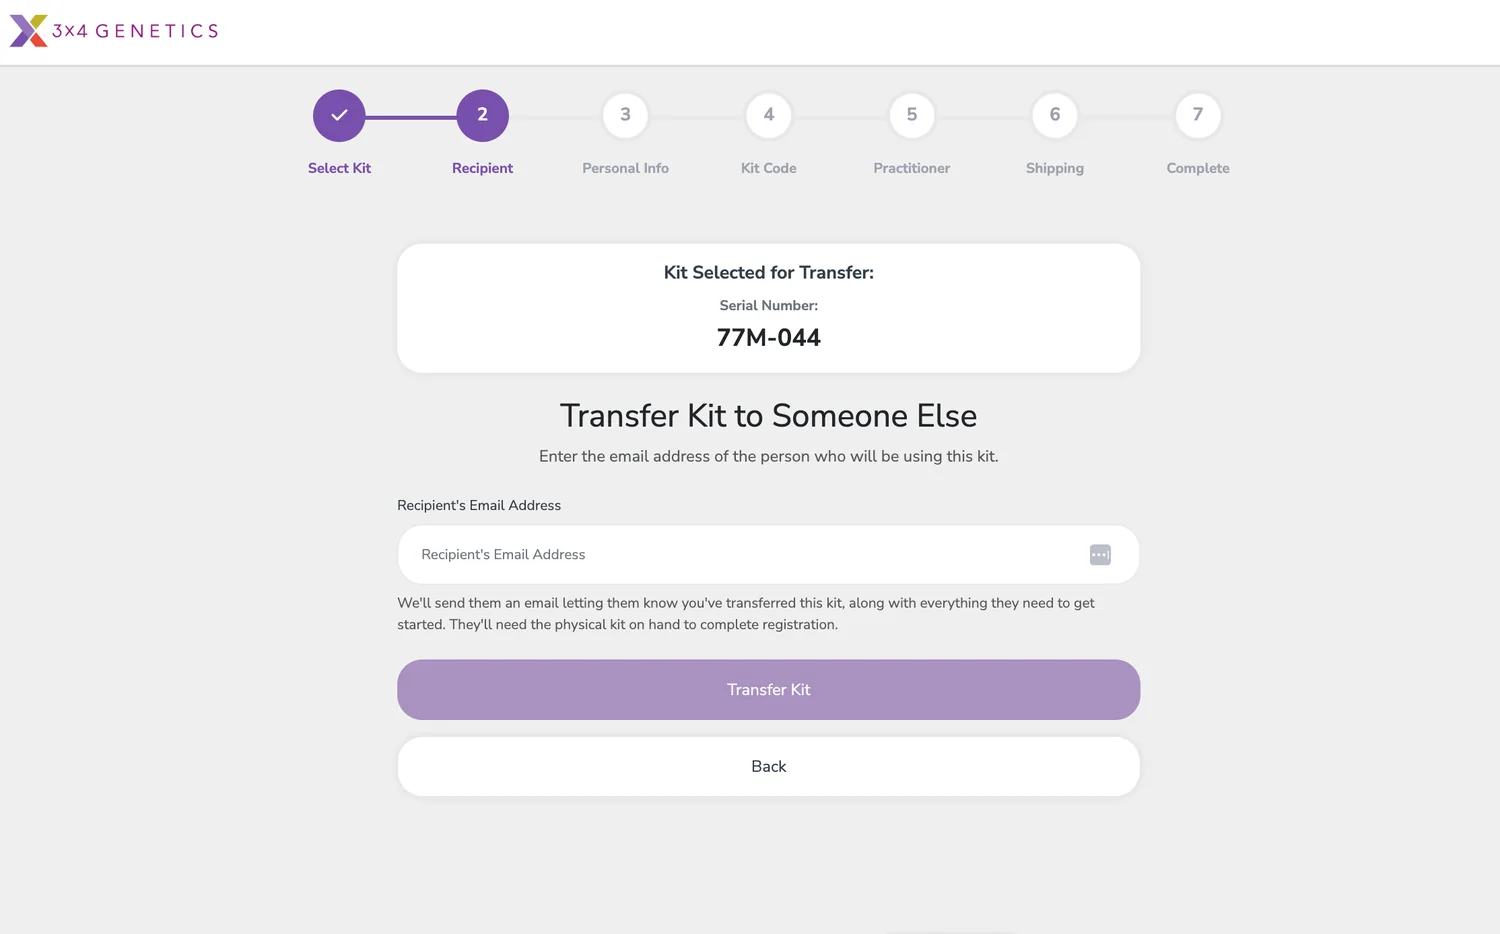
Transfer Kit to Someone Else
Choosing Someone Else lets the client transfer the kit by entering the recipient's email address. The recipient receives a secure link and completes registration under their own account.
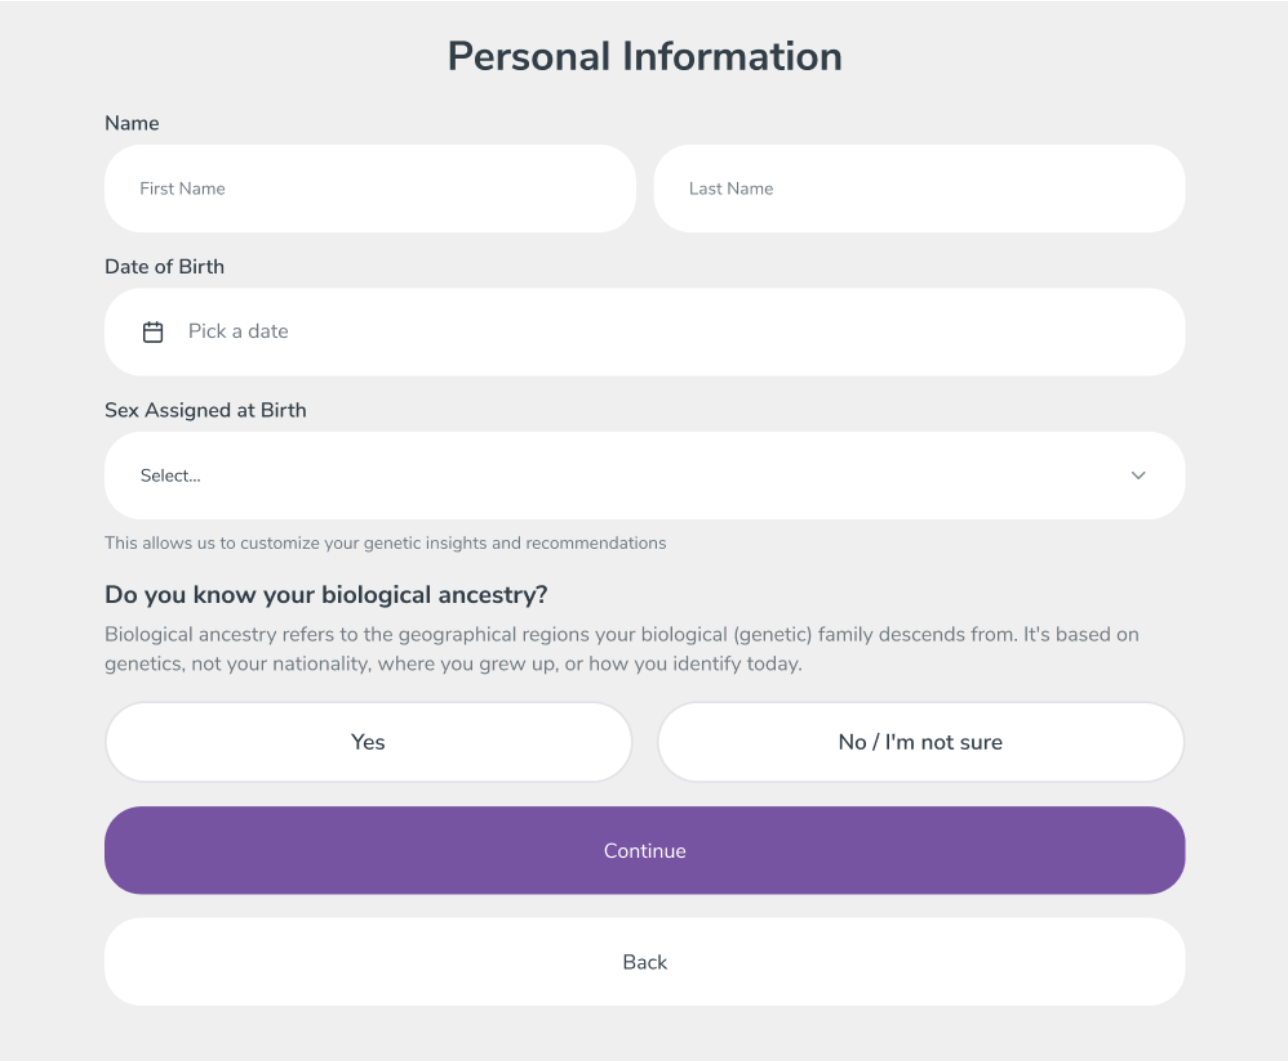
Personal Information
The client enters their name, phone number, date of birth, sex assigned at birth, and biological ancestry information. Sharing their biological ancestry is optional, but will allow us to tailor future versions of their report.
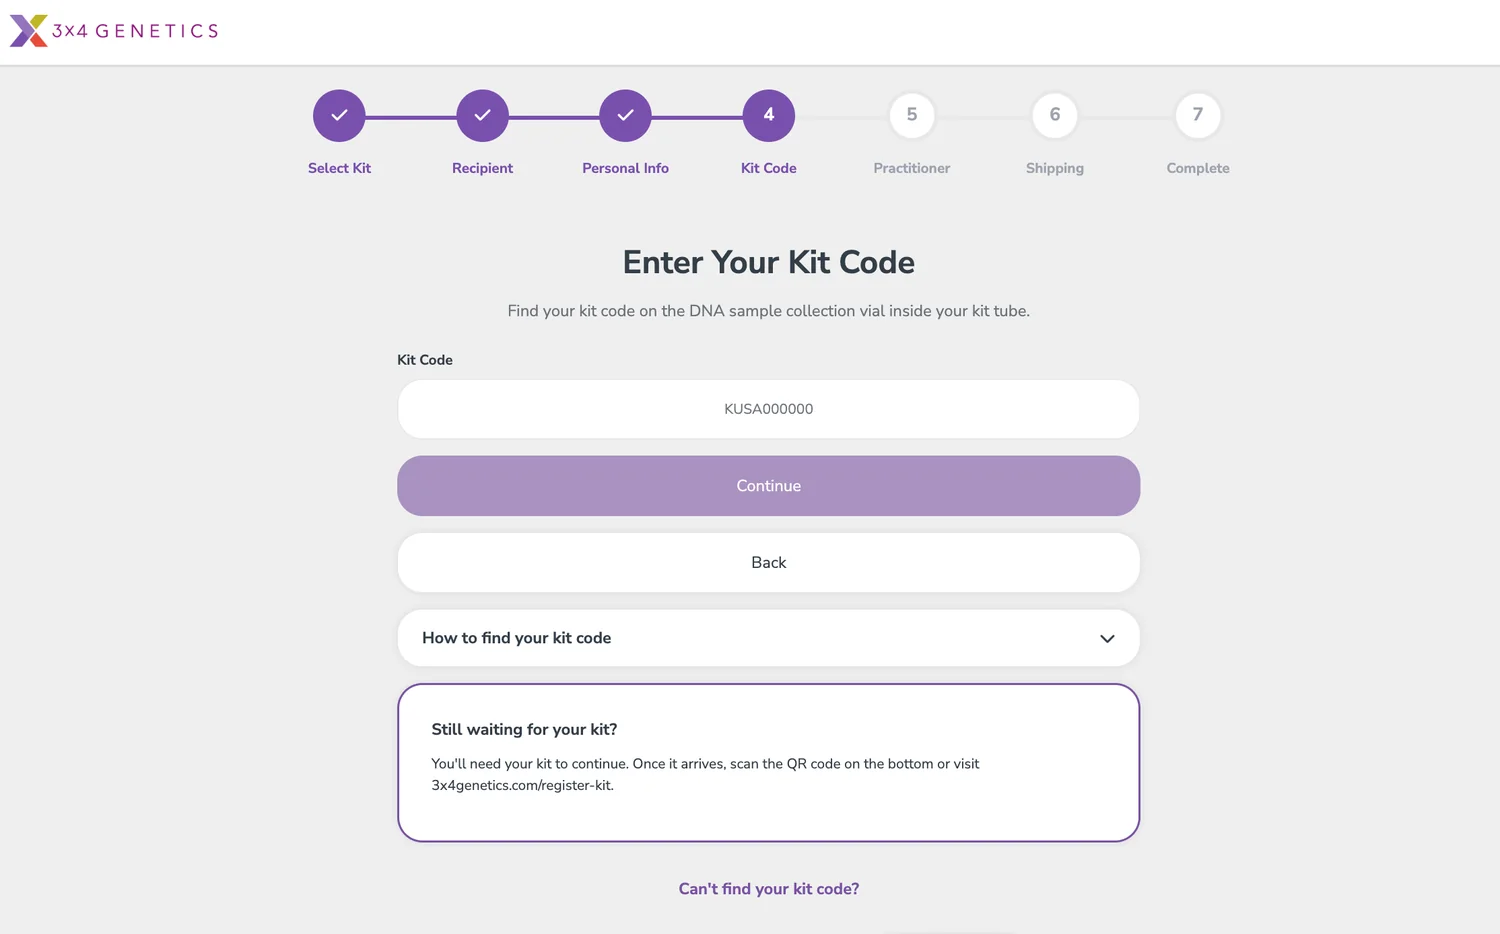
Enter Kit Code
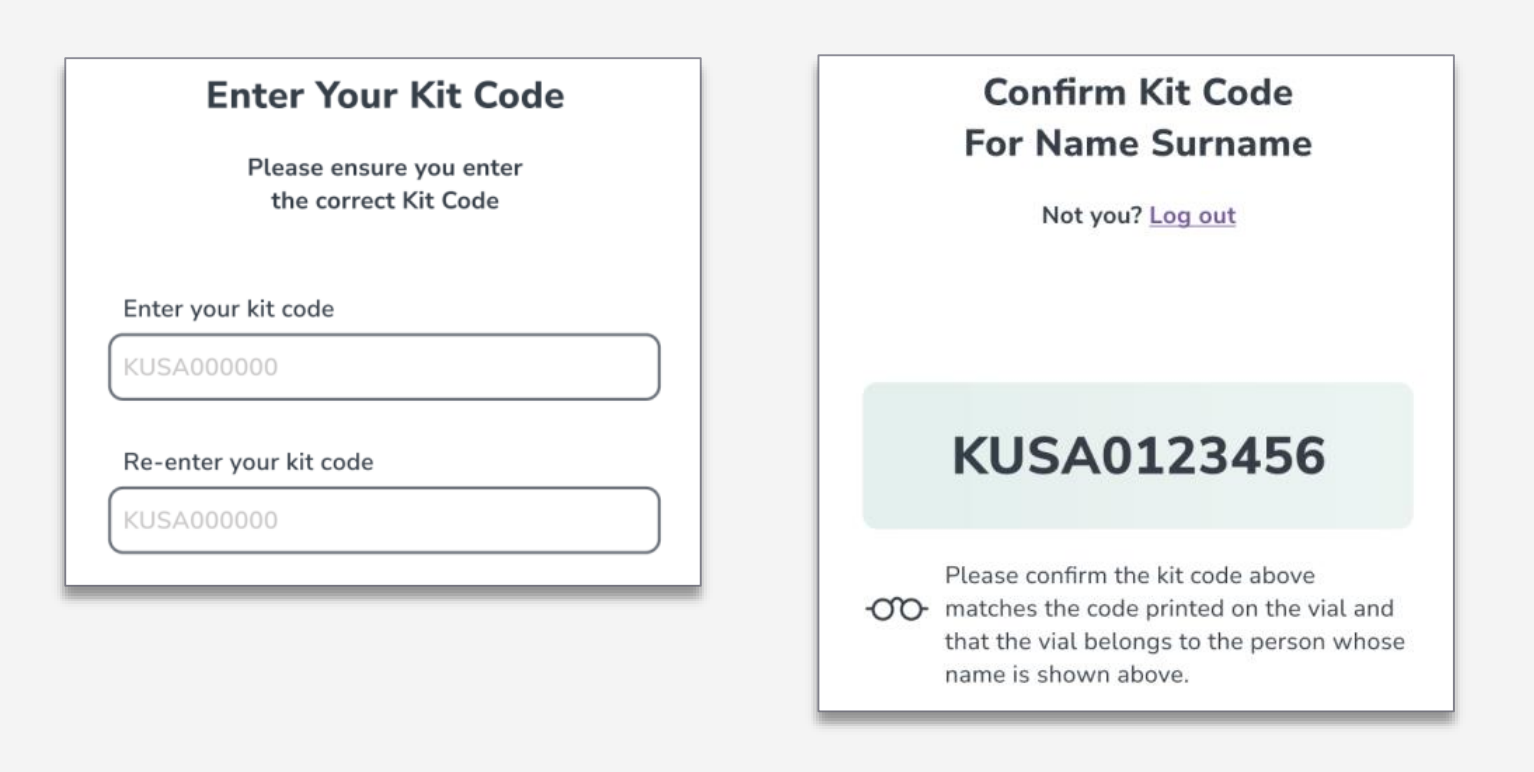
The client enters the kit code from the DNA sample collection vial packed inside the kit (format KUSA000000).
Approx. 2 inches
The kit code is how your client's sample will be identified at the lab
The lab only scans in the kit code on the DNA sample vial. The serial number on the outside of the tube is no longer required.
3X4 recommends you do not use the kit code and identifying information in the same communications. Learn more at Customer Privacy at 3X4 Genetics.
Confirm Linked Practitioner
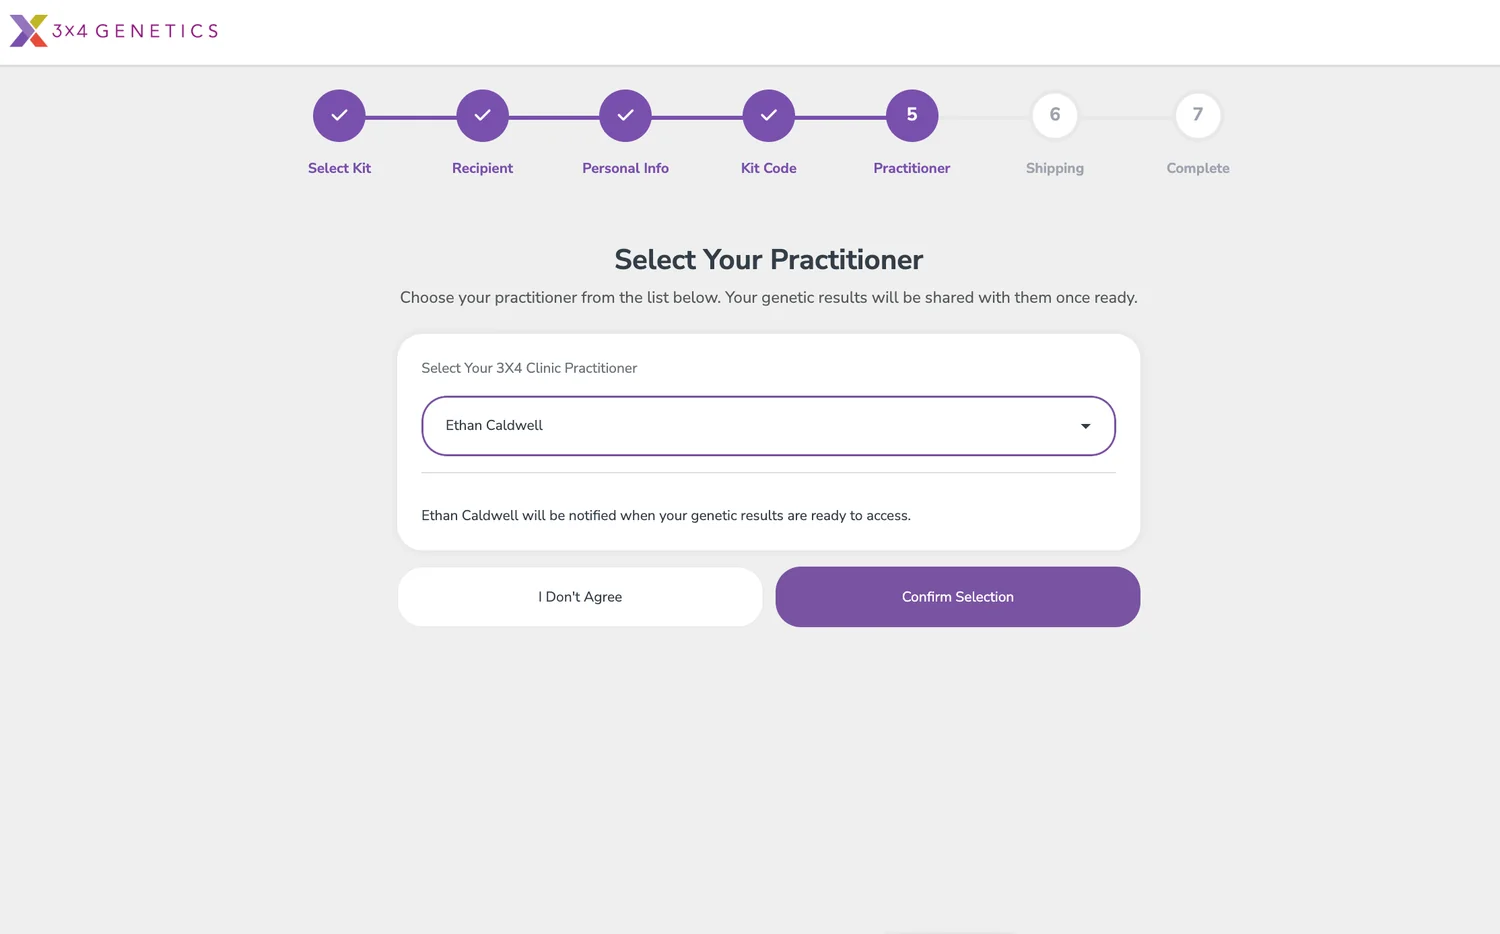
Clients who were shipped a kit, or whose kit is linked to your individual 3X4 account, will see your name pre-filled and fixed. By continuing, they consent to share their genetic test results with you.
Linked practitioner can't be edited
Clients may ask why they can't change the practitioner, so explain that their kit is linked to your practice. If the named practitioner is wrong, stop and contact 3X4 support.
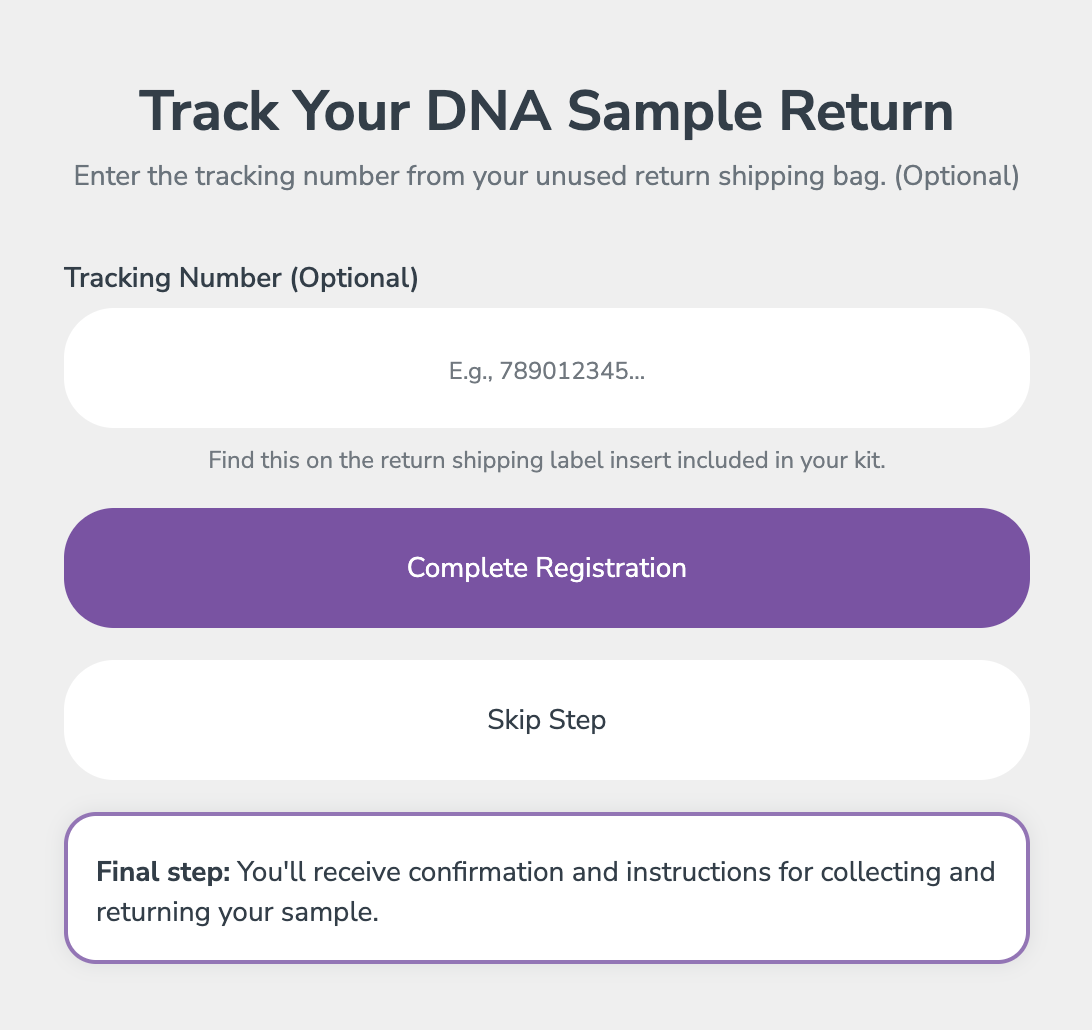
Track sample return
OptionalThe client captures the return tracking number printed on the shipping bag label, if one was supplied.
Biological sample shipping regulations apply
Samples ship as Exempt Human Specimens. Make sure 3X4's packaging instructions are followed.
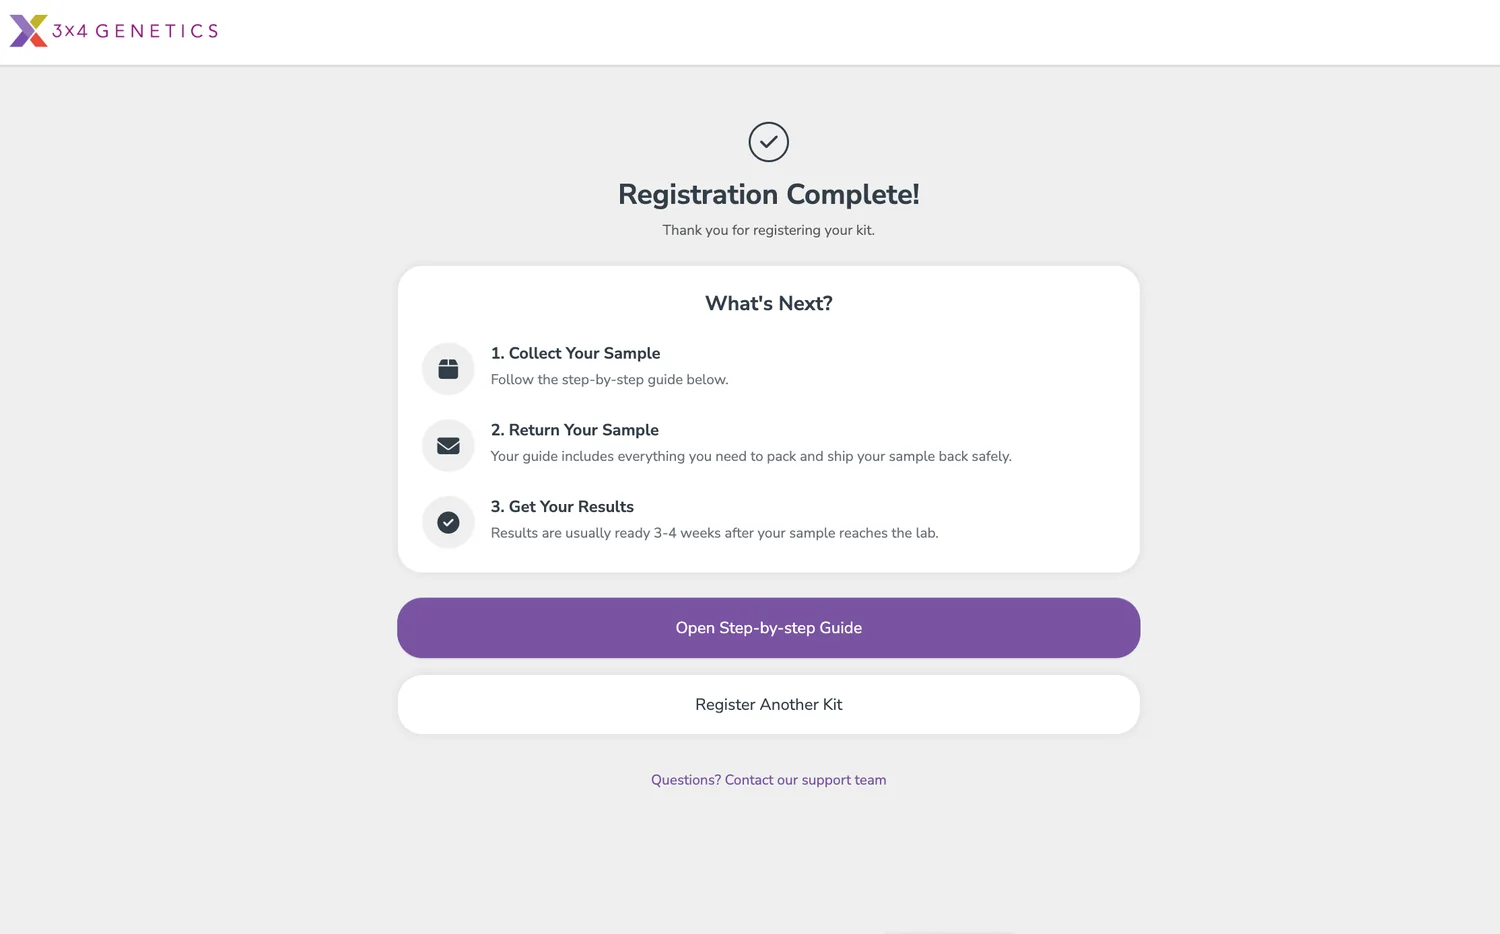
Registration Complete
The client is taken through the next steps: collecting their DNA sample and shipping their sample to the lab for processing (results in 2-4 weeks from arrival at the lab). Remind your client to carefully follow the instructions provided.

Only use 3X4's instructions
Following 3X4's sample collection instructions is essential to help avoid the sample failing at the lab.
Open the current collection instructions
Last updated 2024-12-04
Older 3X4 kit registration
If your client has a 3X4 kit shipped prior to August 13th, 2026, they need to follow the instructions provided inside their kit to register, and will require your 3X4 practitioner code.
3X4 kits shipped before August 13th, 2026
Kit insert instructs the customer to register at kit.3X4.io/pkit. The client will need your 3X4 practitioner code to complete registration.


3X4 kits shipped after August 13th, 2026
Kit insert instructs the customer to scan the QR code or register at 3X4genetics.com/register-kit. See client instructions.

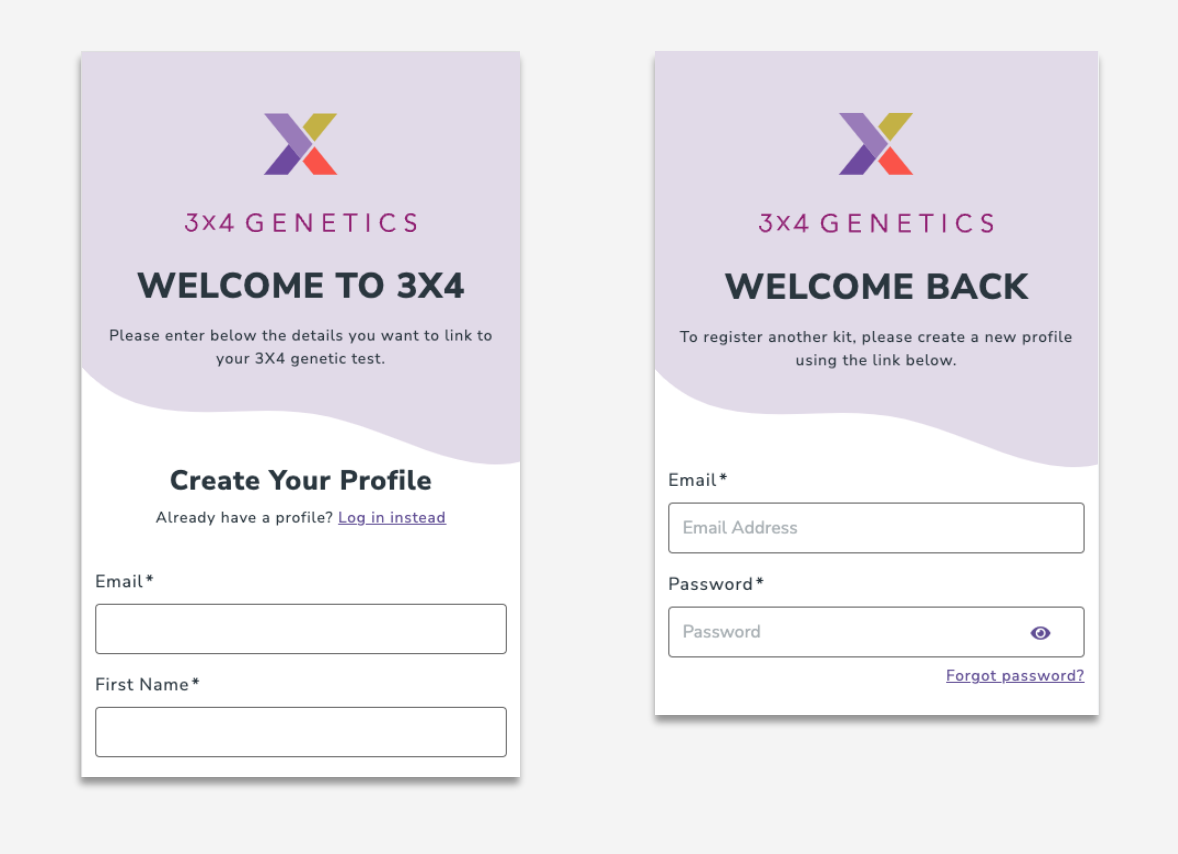
Create Profile
Using the QR code or link on the kit insert provided inside the kit, the client first creates a 3X4 profile, or logs into their existing 3X4 account.
- If creating an account, the client is required to verify their email address.
- The person creating their profile can only register their own kit.
- Only one kit can be registered per profile.
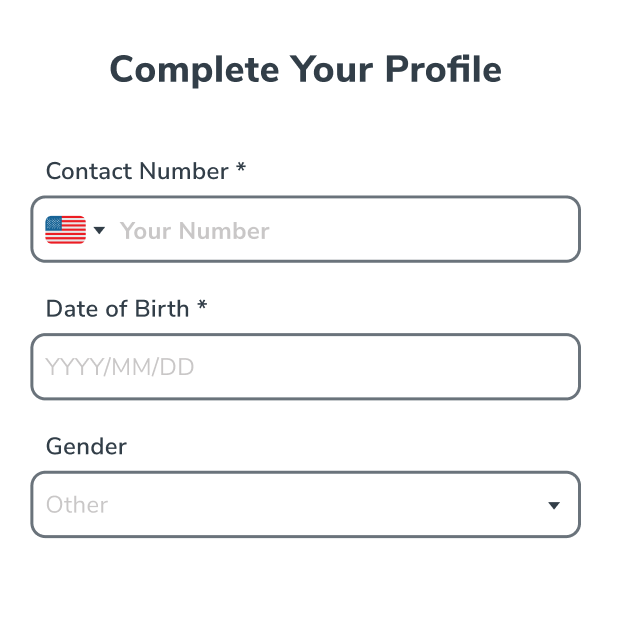
On the following screen, the client enters their name, contact number, and sex assigned at birth.
Complete Profile
On the following screen, the client enters their name, contact number, and sex assigned at birth.
Enter Kit Code
The client enters and confirms their kit code.
Link Practitioner
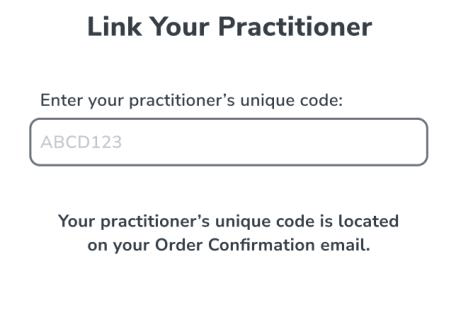
The client enters and confirms your practitioner code. This is what gives you access to their 3X4 results. If it is skipped, the report stays with the client only.
Find your 3X4 practitioner code
Select your profile at the top right of your 3X4 portal.

Link the return tracking number
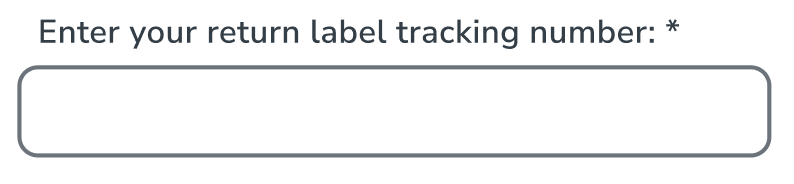
OptionalFor kits supplied with a shipping bag and label, the client can capture their tracking number on 3X4's systems.
Return shipping materials
- USPS return label + black shipping bag, or
- FedEx return label + FedEx shipping bag
USPS shipments can only be returned at USPS branches, and FedEx at FedEx branches.
Need a hand with a kit or a registration?
Our customer service team can help with kit codes, registrations, replacement kits and shipping questions.
